
Mastering the Art of Roof Installation: A Step-by-Step Guide to a Watertight and Stunning Roof
Goodly Service • September 6, 2023
When it comes to home improvement projects, few are as essential and impactful as roof installation. A properly installed roof not only protects your home from the elements but also adds to its overall aesthetic appeal. However, mastering the art of roof installation requires careful planning, attention to detail, and a step-by-step approach.
In this comprehensive guide, we will take you through the entire process of roof installation, from the importance of a properly installed roof to post-installation considerations. Whether you're a seasoned DIY enthusiast or planning to hire a professional roofing contractor, this guide will equip you with the knowledge and understanding to achieve a watertight and stunning roof.
Before diving into the step-by-step process, it's crucial to understand the importance of a properly installed roof. A well-constructed roof provides protection against rain, snow, wind, and other weather conditions. It also plays a significant role in maintaining the structural integrity of your home, preventing leaks, and reducing energy consumption.
Before starting your roof installation project, there are several factors to consider. These include the type of roofing material that best suits your needs, taking into account factors such as durability, cost, and maintenance requirements. Additionally, obtaining necessary permits and permissions should not be overlooked, ensuring that you comply with local regulations and building codes.
As you embark on your roof installation journey, it's crucial to familiarize yourself with the common types of roofing materials available. From traditional asphalt shingles to modern metal roofing, each material has its unique advantages and considerations. Understanding the pros and cons of different roofing materials will help you make an informed decision that aligns with your needs and preferences.
While some homeowners may opt for a DIY approach, hiring a professional roofing contractor is often the best choice. Not only do they possess the necessary expertise and experience, but they also have access to the right tools and equipment. Hiring a professional roofing contractor ensures a high-quality installation, saving you time, effort, and potential headaches down the road.
In the following sections, we will guide you through the step-by-step process of roof installation. From assessing the existing roof to installing underlayment, flashing, and shingles, we will cover each stage in detail. We will also address important considerations such as safety precautions, ventilation, insulation, and ensuring a watertight roof.
Once the roof installation is complete, there are still important post-installation considerations to keep in mind. Inspecting the completed roof, addressing any issues that may arise, and regular maintenance are crucial for the long-term performance and lifespan of your roof. Understanding roofing warranties and guarantees, as well as exploring energy-efficient roofing upgrades, will further enhance the value and efficiency of your new roof.
In conclusion, mastering the art of roof installation is a process that requires careful planning, attention to detail, and a commitment to excellence. By following this step-by-step guide and understanding the importance of proper installation, you can achieve a watertight and stunning roof that not only protects your home but also adds to its beauty and value. So let's dive in and embark on this exciting journey towards a successful roof installation!
Introduction to Roof Installation
Roof installation is a crucial aspect of home improvement that should not be overlooked. A properly installed roof not only protects your home from the elements but also enhances its overall appearance and value. Whether you are considering a roof replacement or installing a roof on a new construction, understanding the importance of a well-executed installation is key to ensuring the longevity and effectiveness of your roof.
Factors to Consider Before Roof Installation
A roof serves as the first line of defense against external elements such as rain, snow, wind, and harsh sunlight. A well-constructed roof prevents water leaks, keeps your home dry, and protects your belongings and loved ones inside. Additionally, a properly installed roof helps maintain the structural integrity of your home by preventing rot, mold growth, and damage to the underlying structure.
Beyond protection, a professionally installed roof adds to the curb appeal and aesthetic value of your property. It can significantly enhance the overall appearance of your home, making it more attractive to potential buyers and increasing its market value. Investing in a high-quality roof installation not only provides immediate benefits but also ensures long-term satisfaction and peace of mind.
Factors to Consider Before Roof Installation
Before embarking on a roof installation project, there are several factors to consider to ensure a successful outcome. These factors include:
- Assessing the Existing Roof: It is essential to assess the condition of your existing roof before proceeding with installation. Conduct a thorough inspection to identify any damage, leaks, or structural issues that may need to be addressed. Understanding the current state of your roof will help determine whether a complete replacement is necessary or if repairs can suffice.
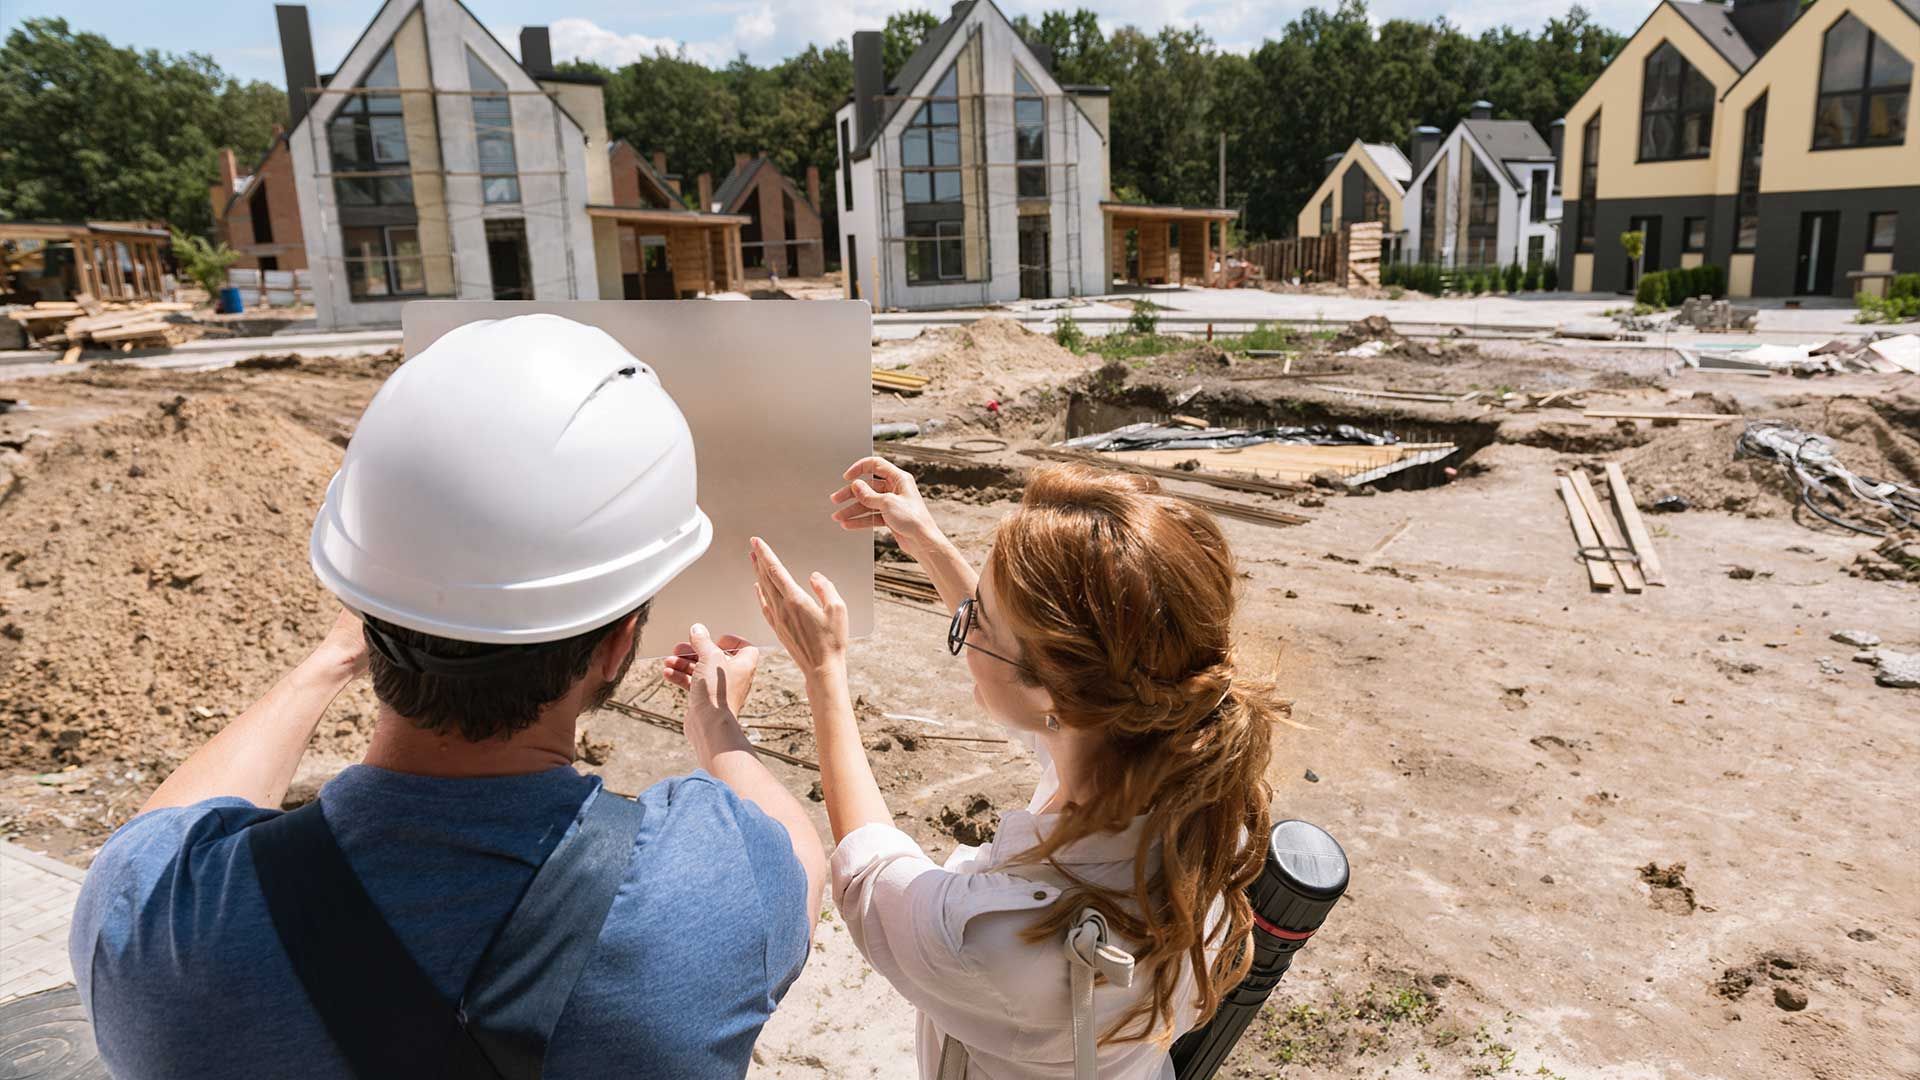
- Obtaining Necessary Permits and Permissions: Depending on your location and the scope of the roof installation project, you may need to obtain permits and permissions from local authorities. Building codes and regulations vary, so it is crucial to research and comply with these requirements to avoid any legal complications down the line.
- Budgeting and Cost Estimation: Roof installation can be a significant investment, so it's essential to establish a budget and estimate the costs involved. Consider factors such as the size of your roof, the type of materials you choose, and any additional services or upgrades you may require. Obtaining quotes from reputable roofing contractors will help you determine a realistic budget for your project.
- Choosing the Right Roofing Material for Your Needs: Selecting the appropriate roofing material is a critical decision that influences the performance and appearance of your roof. There is a wide range of options available, including asphalt shingles, metal roofing, clay tiles, wood shakes, and more. Consider factors such as durability, weather resistance, energy efficiency, maintenance requirements, and aesthetics when choosing the best material for your specific needs.
- Selecting a Reliable Roofing Contractor: While some homeowners may opt for a DIY approach, hiring a professional roofing contractor is highly recommended for a successful roof installation. A skilled and experienced contractor will have the expertise, knowledge, and necessary tools to ensure a high-quality installation. Research local contractors, read reviews, and request references to find a reliable professional who can deliver exceptional results.
By considering these factors before starting your roof installation project, you set the foundation for a smooth and successful process. Taking the time to plan and make informed decisions will help you achieve the desired outcome and maximize the benefits of your new roof.
Preparing for Roof Installation
Preparing for roof installation is a crucial step that sets the stage for a smooth and successful project. It involves assessing the existing roof, obtaining necessary permits and permissions, budgeting and cost estimation, choosing the right roofing material, and selecting a reliable roofing contractor. By addressing these considerations before starting the installation process, you can ensure a well-planned and efficient project execution.
Assessing the Existing Roof
Before beginning any roof installation project, it is essential to assess the condition of your existing roof. Conducting a thorough inspection will help identify any damage, leaks, or underlying issues that need to be addressed before installing a new roof. This evaluation will determine whether a complete roof replacement is necessary or if repairs can be made to extend the lifespan of the existing roof.
During the assessment, pay attention to signs of water damage, missing or damaged shingles, sagging or weakened areas, and any indications of structural issues. Identifying these problems early on will help you make informed decisions and plan for the necessary repairs or replacement.
Obtaining Necessary Permits and Permissions
Roof installation projects often require permits and permissions from local authorities. Building codes and regulations vary from one location to another, and it is crucial to comply with these requirements to ensure the legality and safety of the installation.
Before starting the project, research the specific permits and permissions needed for your area. Contact the local building department or consult with a roofing professional to understand the necessary procedures and documentation. Obtaining the required permits in advance will help avoid potential legal issues and ensure that your installation meets all the necessary standards.
Budgeting and Cost Estimation
Budgeting is a fundamental aspect of any home improvement project, including roof installation. It is essential to establish a realistic budget and estimate the costs associated with your roof installation project. Consider factors such as the size and complexity of the roof, the chosen roofing material, additional services required (such as insulation or ventilation upgrades), and labor costs.
Obtaining quotes from reputable roofing contractors will give you a better understanding of the expected expenses. It is important to remember that quality should be a priority over cost. Investing in a high-quality roof installation may require a higher initial investment but can save you money in the long run by reducing the likelihood of repairs and replacements.
Choosing the Right Roofing Material for Your Needs
Selecting the right roofing material is a critical decision that affects the performance, durability, and aesthetics of your roof. There are various roofing materials available, each with its own advantages and considerations.
Asphalt shingles are the most common and affordable roofing material. They are durable, easy to install, and come in a variety of colors and styles. Metal roofing offers excellent longevity, energy efficiency, and resistance to fire and extreme weather conditions. Clay tiles, while more expensive, provide a unique and elegant appearance, along with exceptional durability. Other options include wood shakes, slate, and synthetic materials that mimic the look of traditional materials.
When choosing the roofing material, consider factors such as the climate in your area, the desired lifespan of the roof, maintenance requirements, and architectural compatibility with your home. Consulting with a roofing professional can provide valuable insights and guidance in selecting the most suitable material for your needs.
Selecting a Reliable Roofing Contractor
Hiring a professional roofing contractor is highly recommended for a successful and stress-free roof installation. A skilled contractor will have the expertise, experience, and necessary tools to ensure a high-quality installation that meets industry standards.
When selecting a roofing contractor, research local companies and read reviews from previous customers. Look for contractors with proper licensing, insurance, and certifications. Request references and take the time to contact them to inquire about their experience with the contractor.
Interview potential contractors, asking about their experience with similar projects, warranty offerings, and their approach to customer satisfaction. Obtain detailed written estimates from multiple contractors, comparing their proposed timelines, materials, and costs. By carefully evaluating and selecting a reliable roofing contractor, you can have confidence in the quality and professionalism of the installation.
Preparing for roof installation involves careful evaluation, planning, and decision-making. Assessing the existing roof, obtaining necessary permits, budgeting, selecting the right roofing material, and hiring a reliable contractor are essential steps to ensure a successful project. Taking the time to adequately prepare will help minimize unexpected issues and ensure that your roof installation exceeds your expectations.
Step-by-Step Guide to Roof Installation
A successful roof installation requires a systematic approach and attention to detail. This step-by-step guide will walk you through the entire process, from safety precautions to the final touches of a watertight roof. By following these steps, you can ensure a smooth and efficient installation that results in a durable and visually appealing roof.
Roofing Safety Precautions
Before starting any roofing project, it is essential to prioritize safety. Working at heights and handling heavy materials can pose risks, so taking proper precautions is crucial. Here are some safety measures to consider:
- Use appropriate personal protective equipment (PPE) such as safety glasses, gloves, and non-slip footwear.
- Ensure a stable and secure ladder for safe access to the roof.
- Use fall protection equipment, such as harnesses and safety lines, when working on steep roofs.
- Be aware of overhead power lines and take precautions to avoid contact.
- Take regular breaks and stay hydrated to prevent fatigue and maintain focus.
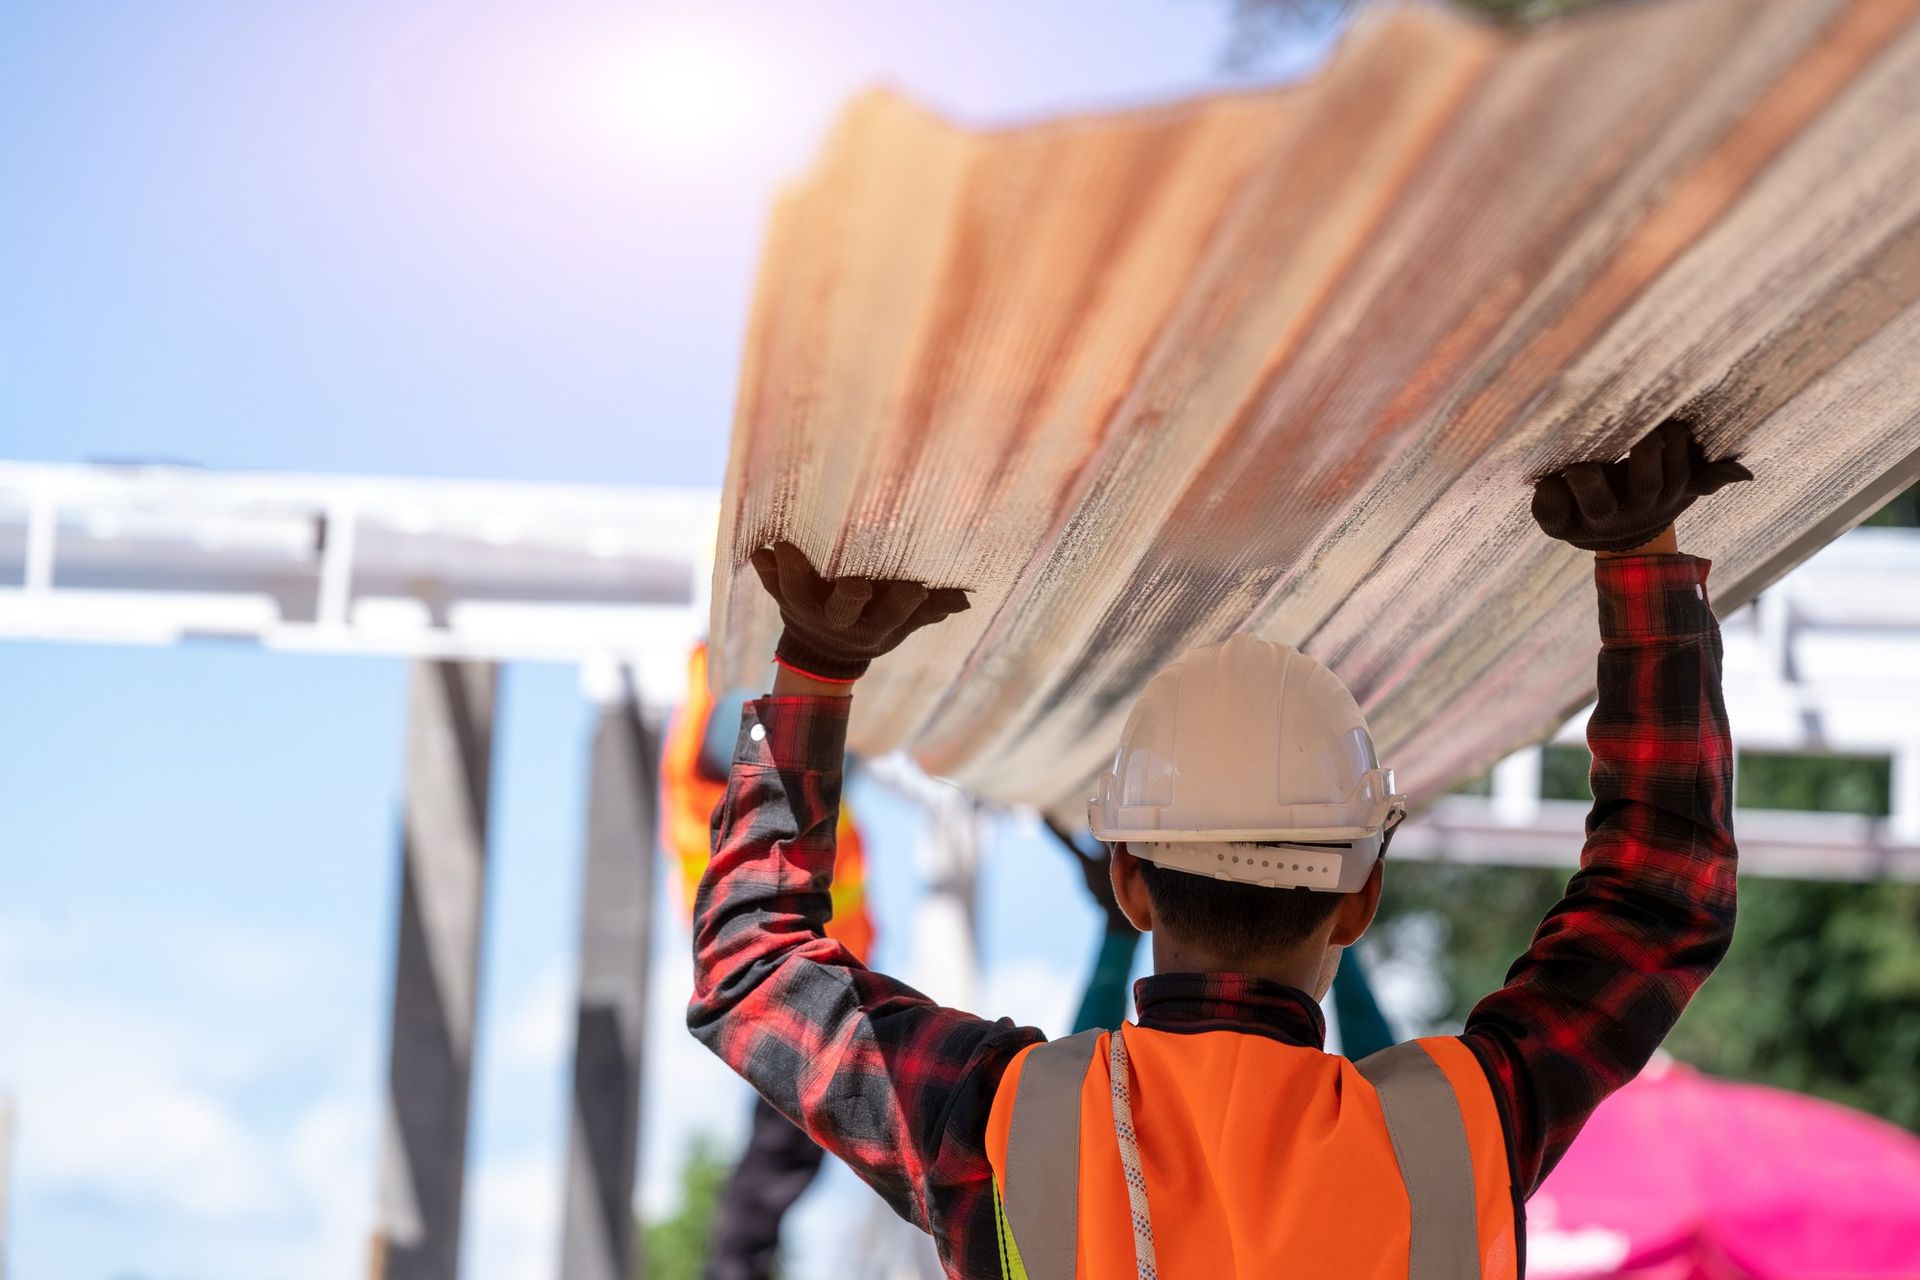
Removal of Existing Roofing Materials
If a roof replacement is necessary, the first step is to remove the existing roofing materials. This process involves stripping off old shingles, tiles, or other coverings to expose the roof deck. It is important to exercise caution during this phase to avoid damaging the underlying structure.
Start by removing any ridge caps, flashing, and trim pieces. Then, carefully remove the roofing materials layer by layer, being mindful of any nails or fasteners that may be present. Dispose of the old materials responsibly, following local regulations and guidelines.
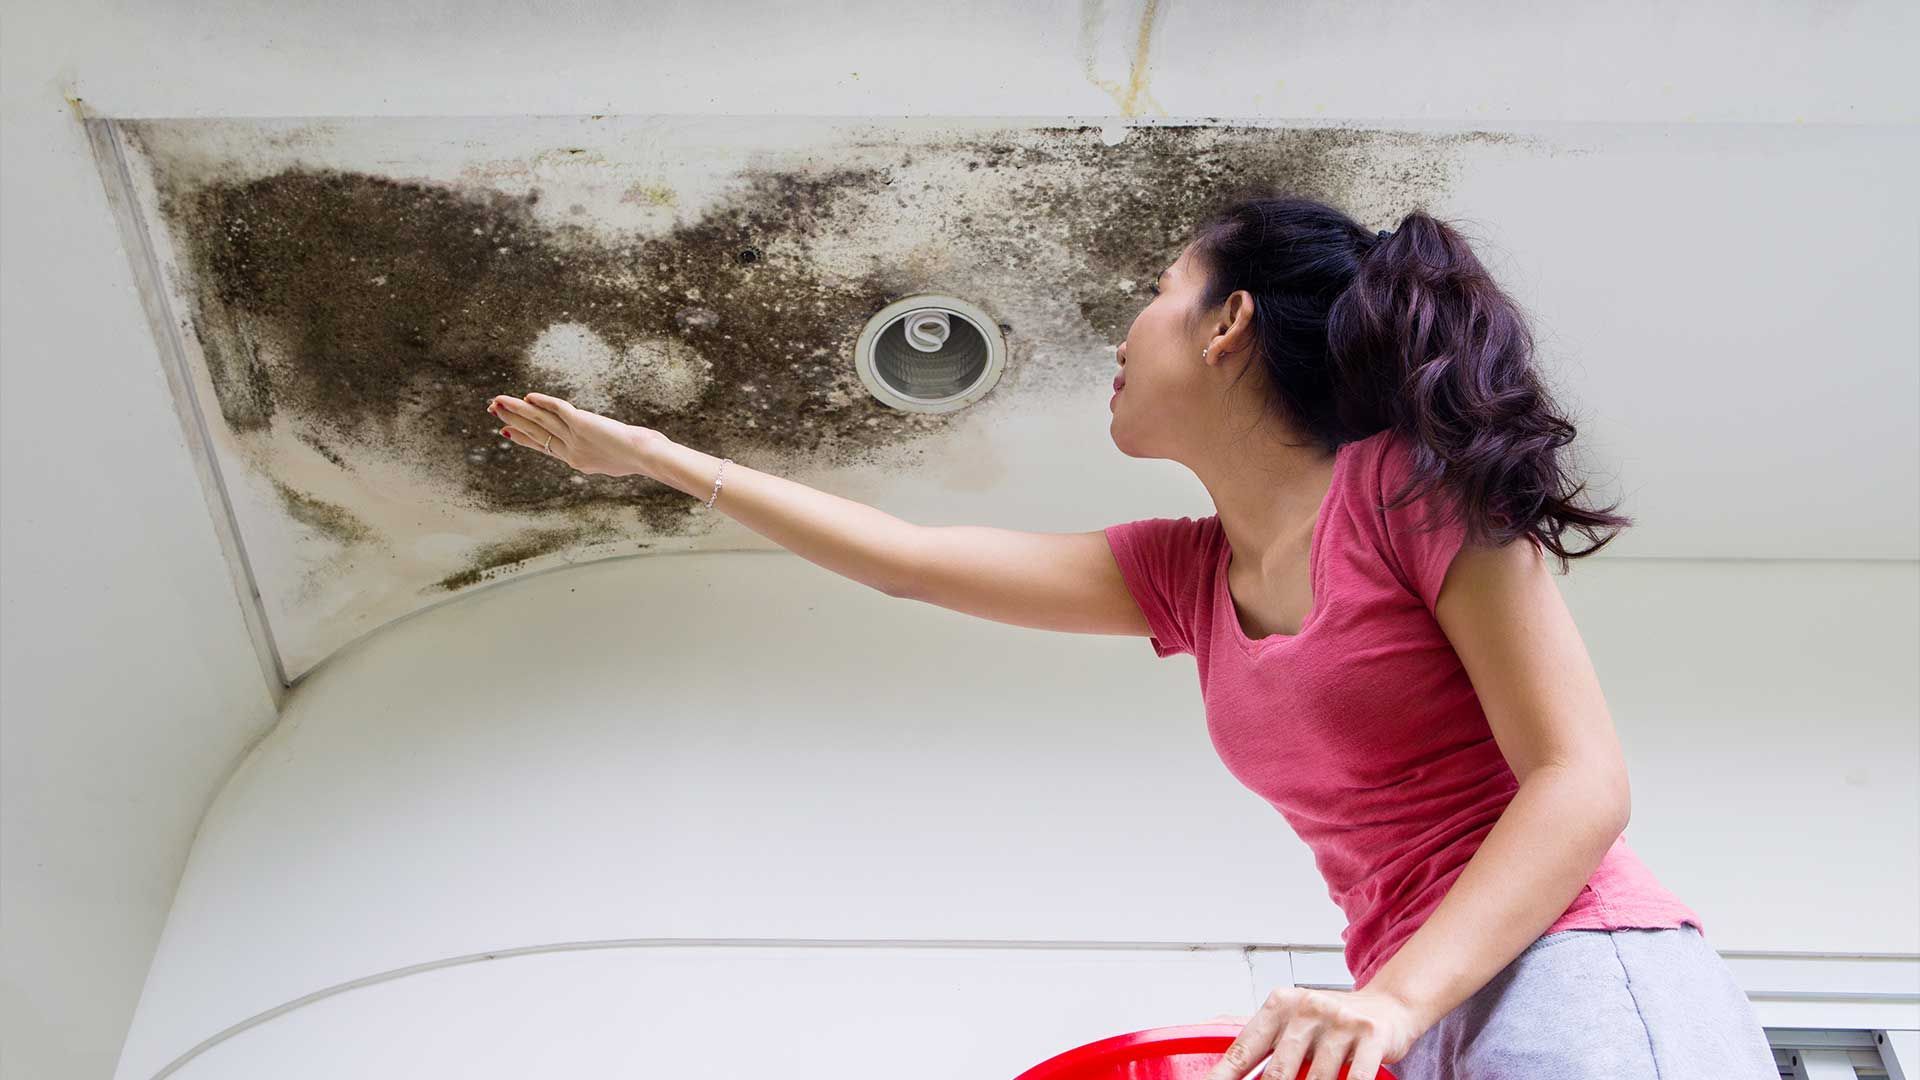
Inspecting and Repairing the Roof Deck
Once the old roofing materials have been removed, it is crucial to inspect the roof deck for any damage or deterioration. Look for signs of rot, mold, or weakened areas that may require repair. Addressing these issues at this stage will ensure a solid foundation for the new roof.
Replace any damaged or rotted sections of the roof deck, ensuring that it is structurally sound and able to support the weight of the new roofing materials. Repair any loose or damaged roof sheathing and reinforce any compromised areas to ensure a stable and secure base.
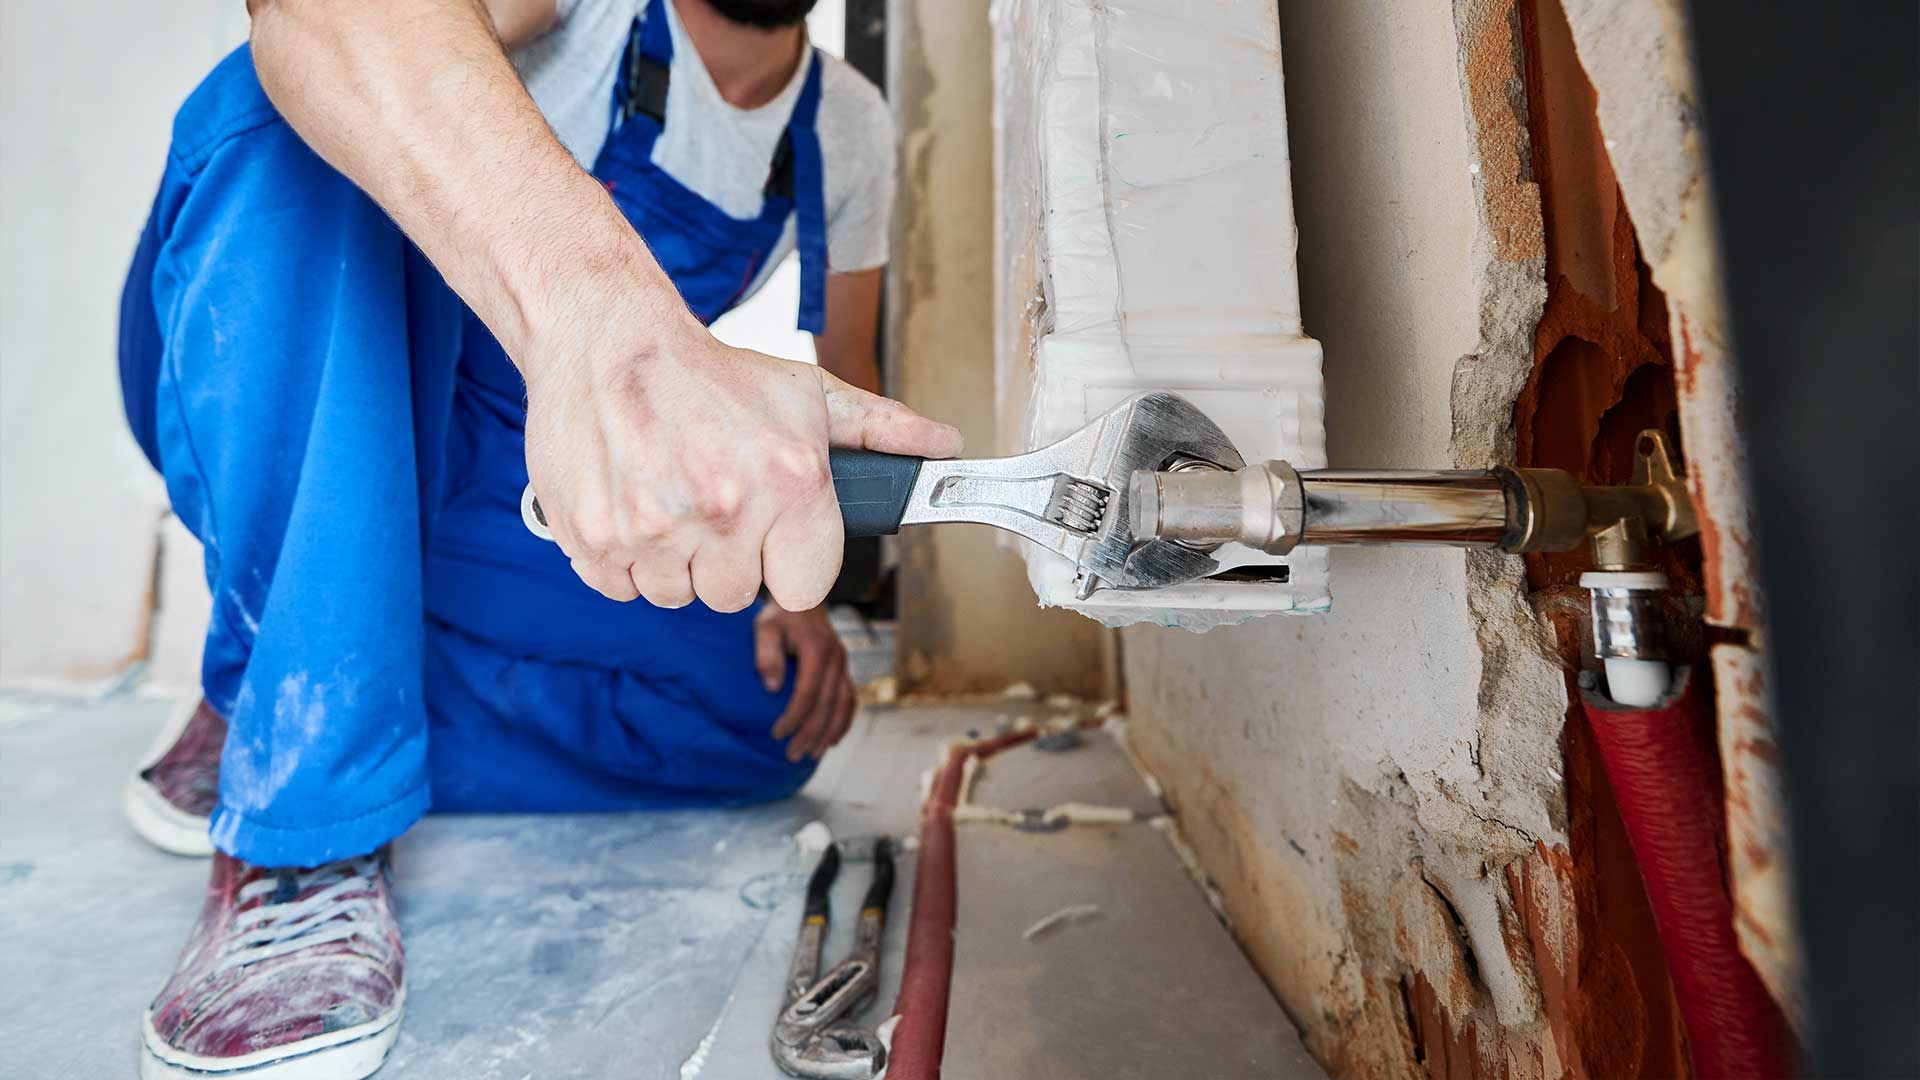
Installing Roof Underlayment and Flashing
The next step in the roof installation process is to install the roof underlayment and flashing. The underlayment acts as a secondary barrier against water penetration and helps protect the roof deck from moisture damage. Flashing, on the other hand, prevents water from seeping into vulnerable areas such as roof valleys, chimneys, and vents.
Start by installing the underlayment, which is typically made of asphalt-saturated felt or synthetic materials. Roll out the underlayment in overlapping layers, securing it to the roof deck with staples or nails. Ensure proper overlap and fastening to create a continuous barrier.
Next, install flashing in critical areas where water may accumulate or penetrate the roof. This includes places such as valleys, roof edges, chimneys, skylights, and vents. Properly installed flashing will help redirect water away from these vulnerable areas, minimizing the risk of leaks.
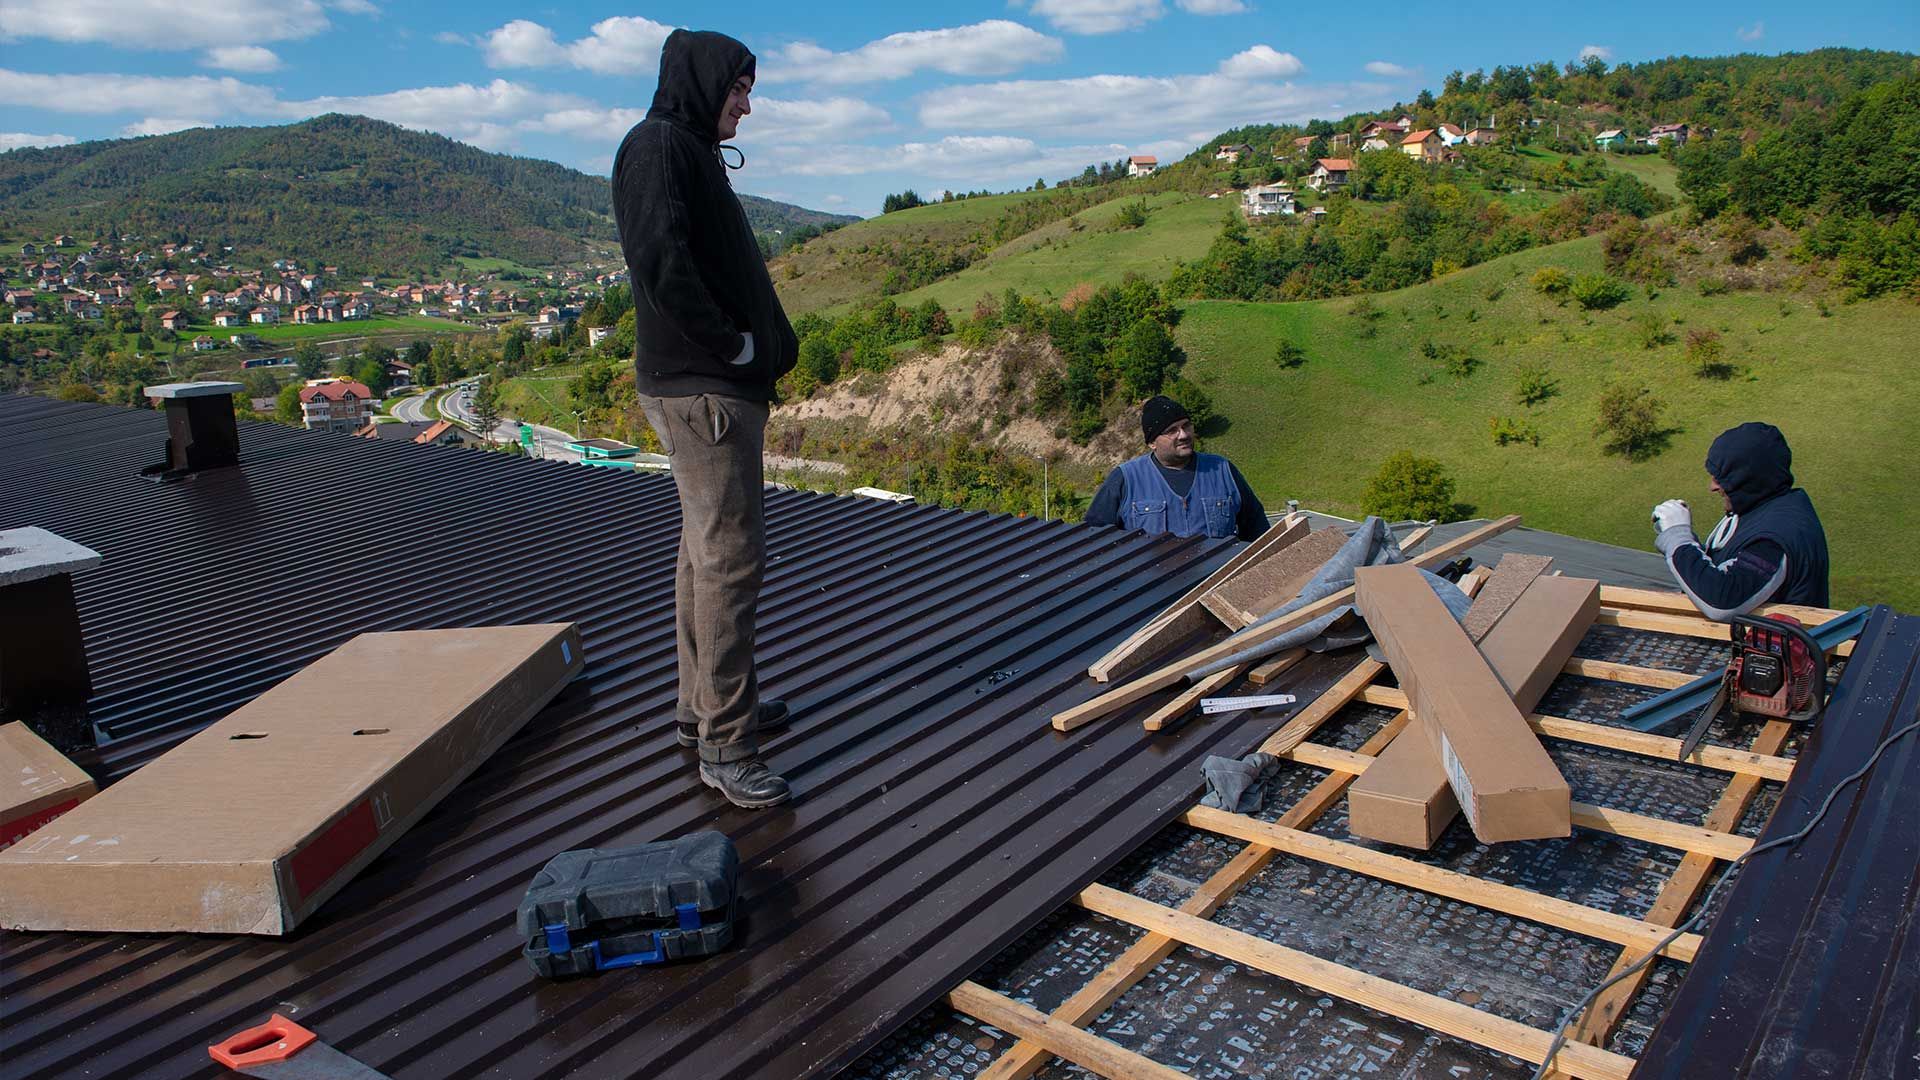
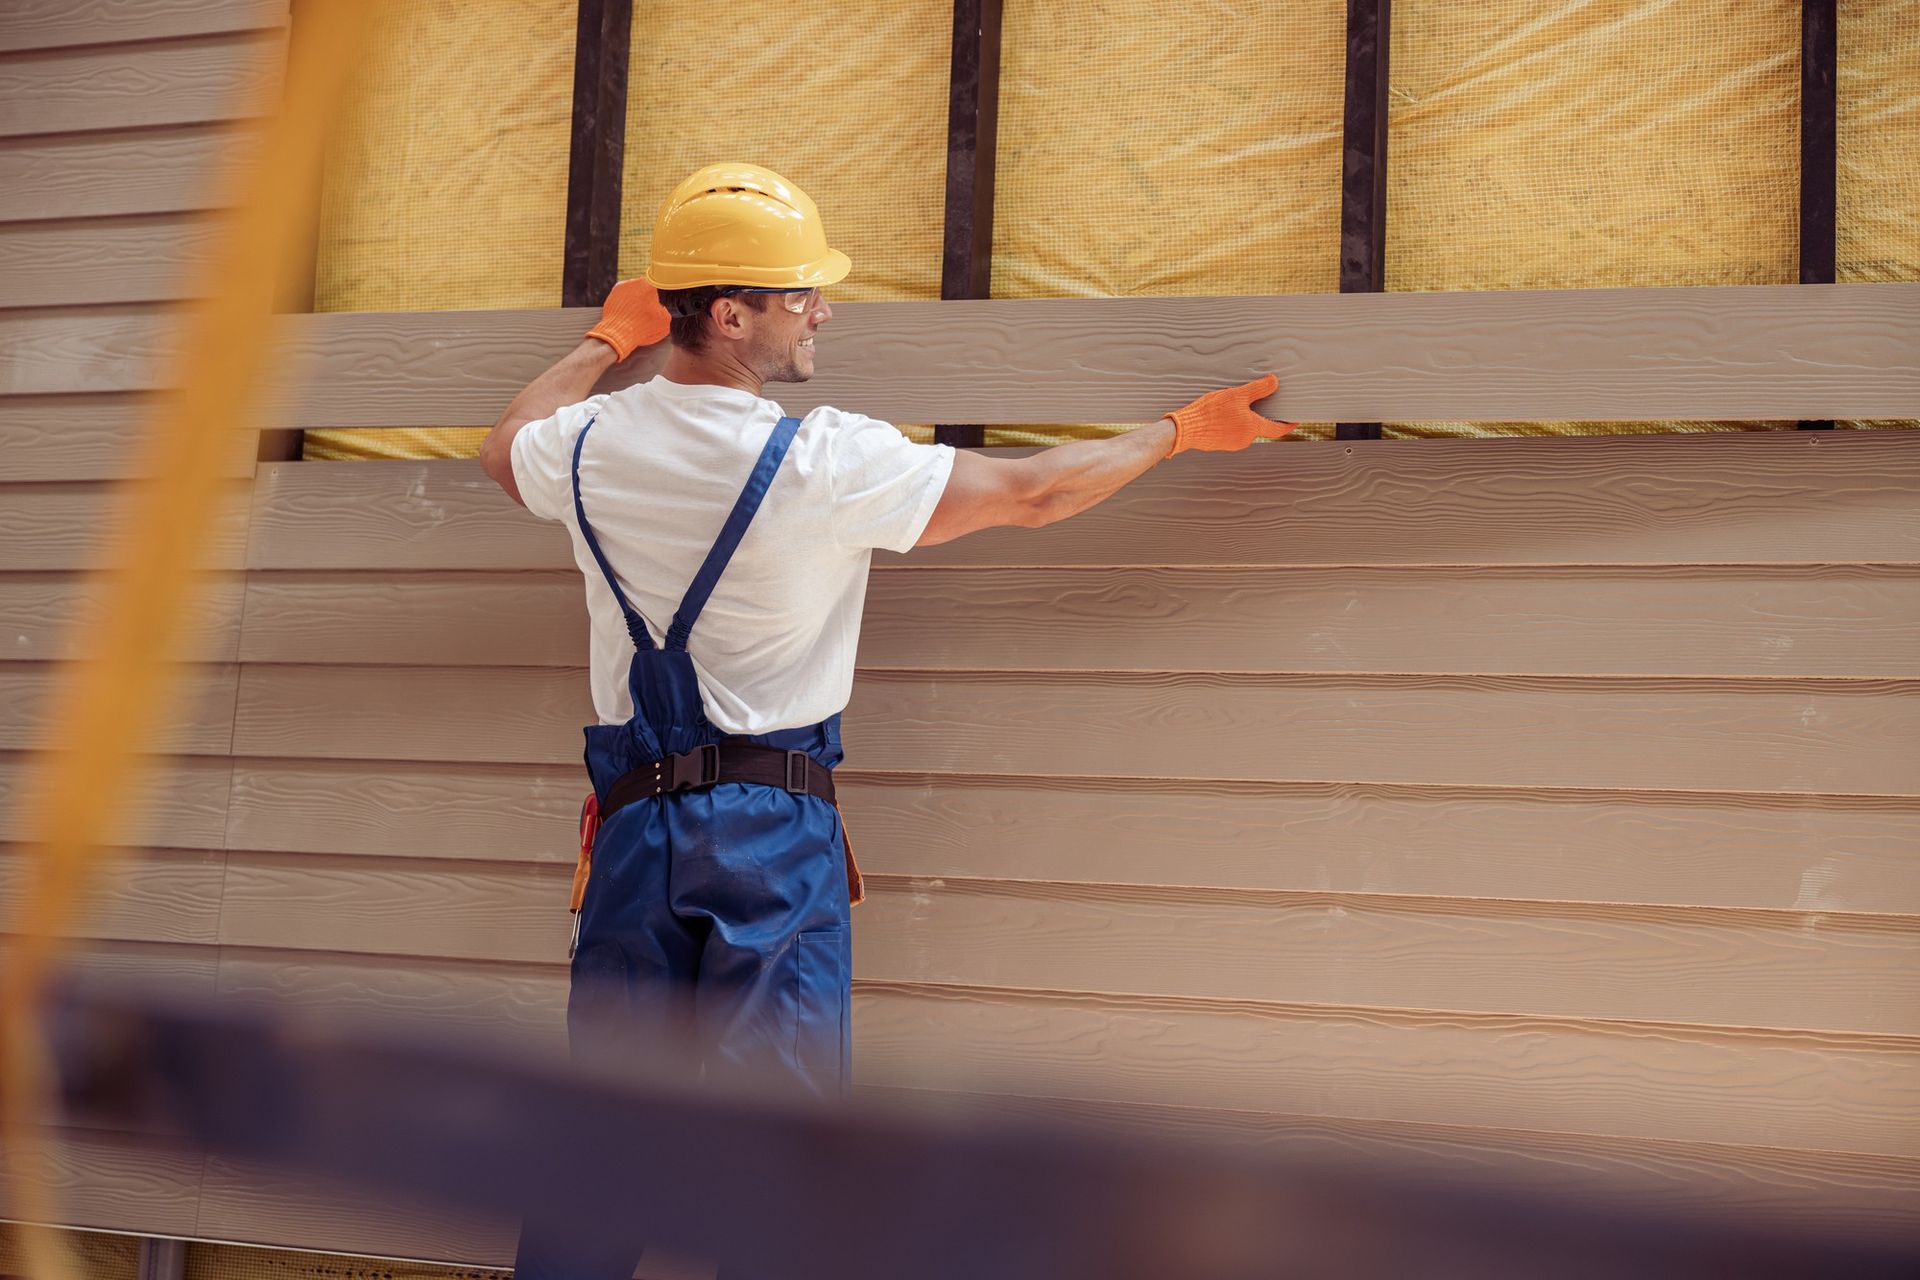
Installing Shingles or Other Roofing Materials
With the underlayment and flashing in place, it's time to install the primary roofing material, which is often shingles. Shingles are available in various materials, styles, and colors, allowing you to choose the option that best suits your aesthetic preferences and functional requirements.
Start by installing starter shingles along the eaves of the roof, ensuring they overhang the edge slightly. Then, work your way up the roof, placing each shingle in a staggered pattern to create a watertight seal. Nail the shingles in place according to the manufacturer's guidelines, being careful not to overdrive the nails.
Continue installing shingles row by row, ensuring proper alignment and coverage. Trim shingles as necessary to fit around roof features such as vents, chimneys, and skylights. Use appropriate flashing materials to seal these areas, ensuring a secure and leak-free installation.
Proper Ventilation and Insulation Techniques
Proper ventilation and insulation are crucial components of a well-functioning roof. Adequate ventilation helps regulate temperature and moisture levels in the attic, preventing issues such as condensation, mold growth, and premature deterioration of the roofing materials. Insulation, on the other hand, helps maintain energy efficiency and prevents heat loss or gain.
Install roof ventilation components such as ridge vents, soffit vents, or gable vents to ensure proper airflow in the attic. This will help prevent the buildup of heat and moisture, extending the lifespan of the roof and improving overall comfort.
Additionally, install insulation in the attic space, following local building codes and recommendations. Proper insulation helps maintain a consistent temperature, reduces energy consumption, and prevents heat transfer through the roof.
Ridge Cap Installation
The ridge cap is the finishing touch that provides a clean and professional look to the roof while also protecting the vulnerable ridge area from water infiltration. Ridge caps come in various styles, such as shingle caps or metal ridge vents, depending on the roofing material used.
Install ridge caps by carefully placing them over the ridges of the roof, ensuring proper alignment and coverage. Nail or fasten them securely according to the manufacturer's guidelines. Take care to seal the ends and edges of the ridge caps with appropriate materials to create a watertight barrier.
Ensuring a Watertight Roof
Once the installation is complete, it is crucial to thoroughly inspect the roof to ensure its watertight integrity. Check for any gaps, loose shingles, or exposed areas that may allow water penetration. Repair or replace any damaged or compromised sections promptly to prevent leaks.
Perform a water test by spraying the roof with a hose, focusing on areas susceptible to leaks, such as valleys, flashing, and roof penetrations. Observe the interior of the attic for any signs of water intrusion. If any issues are detected, address them promptly to ensure a fully watertight roof.
By following these step-by-step guidelines for roof installation, you can achieve a durable, visually appealing, and watertight roof. Each stage plays a crucial role in the overall success of the installation, from ensuring safety to proper preparation, meticulous installation, and thorough inspection. With a well-executed roof installation, you can enjoy the benefits of a secure and beautiful roof for years to come.
Conclusion
Roof installation is a vital aspect of maintaining and enhancing your home. One of the key components to a successful installation is working with a reputable roofing contractor. If you're in the Linwood, NJ area, consider Seaboard Building & Restoration, Inc. as the best ROOF INSTALLATION service provider. With their expertise and commitment to excellence, they can ensure your roofing project is completed to the highest standards. You can reach them at 856-534-0132 for all your roofing needs. By following the guidelines provided in this blog post, you can achieve a roof installation that provides long-lasting protection, aesthetic appeal, and peace of mind. Remember, a well-executed roof installation is an investment in the future of your home, ensuring its durability, functionality, and value for years to come.
Discover what to do in a water-related emergency with our guide to emergency water damage repair. Learn how to act fast, prevent further damage, and restore your home with the help of a professional water damage repair company. Contact us at Seaboard Building & Restoration, Inc. for expert assistance 24/7.

Learn about the fire damage restoration process and how professionals can help restore your home to its pre-fire condition. Get expert tips on dealing with fire damage effectively.
Discover common roof problems and solutions with our comprehensive guide to residential roof services. Learn how to address issues like missing shingles, leaks, and ventilation problems. Contact Seaboard Building & Restoration, Inc. for expert assistance today!
Discover inspiring new home construction ideas, from planning to execution. Explore innovative designs, sustainable practices, and expert tips to build your dream home. Contact us at 856-534-0132 to get started today!

Whether DIY or professional cleanup services are right for you. Explore cost, time, and expertise considerations in this helpful guide. Make the best choice for your cleanup needs.
Unlock the secrets of mold damage restoration with expert insights. Learn why timely restoration is crucial and how professionals safeguard your property and health. Contact Seaboard Building & Restoration, Inc. at 856-534-0132 for expert assistance.

When disasters strike, such as fires or water damage, the need for immediate action is undeniable. Your home, belongings, and peace of mind may be hanging in the balance. In these critical moments, the choice of the right professionals can make all the difference. That's where fire and water damage restoration companies come into play. Fire and water damage restoration companies are your lifeline during emergencies, specializing in the restoration of properties affected by these devastating events. Whether your home has suffered from a fire outbreak or extensive water damage due to floods or leaks, these companies have the expertise to bring your residence back to life. In this comprehensive guide, we will walk you through the process of choosing the right fire and water damage restoration company when faced with the unexpected. We'll explore the critical factors to consider, the questions to ask, and the qualities to look for in a restoration partner , ensuring that you can make an informed decision during these challenging times. Your home's recovery begins with this essential choice.

Learn essential do's and don'ts for emergency home restoration after water damage. Protect your property and expedite recovery.
Don't ignore these top signs for siding replacement. Protect and beautify your home by recognizing when it's time for an upgrade.
Explore our 2024 guide on roofing services for every season. Learn to choose the right service for optimal roof maintenance and durability.

